Custom Controls in 10 Easy Steps
For InfoPath 2013 and .xtp /.xtp2 files (Microsoft InfoPath Template Part File)
InfoPath has many out of the box controls to help you create some awesome forms. But you may have either downloaded some custom controls or created your own directly in InfoPath using the “Blank Template Part”. Check back for a future post on “Creating Your Own InfoPath Template Part”. In this post you will find a simple, 10-step process with pictures to help you install your new custom controls.
Before we get started, you need to have the .xtp or .xtp2 files accessible. You can download Formotus Custom Controls here (and bookmark our Services page for an extensive library of Custom Template Parts that will be available soon).
… … …
Ok, now that you have them ready, let’s dig in!
Step 1: Open an existing or new project in InfoPath 2013.
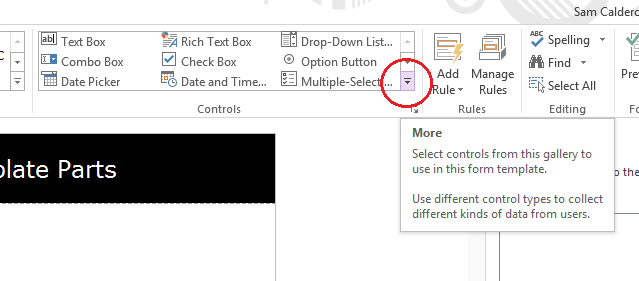
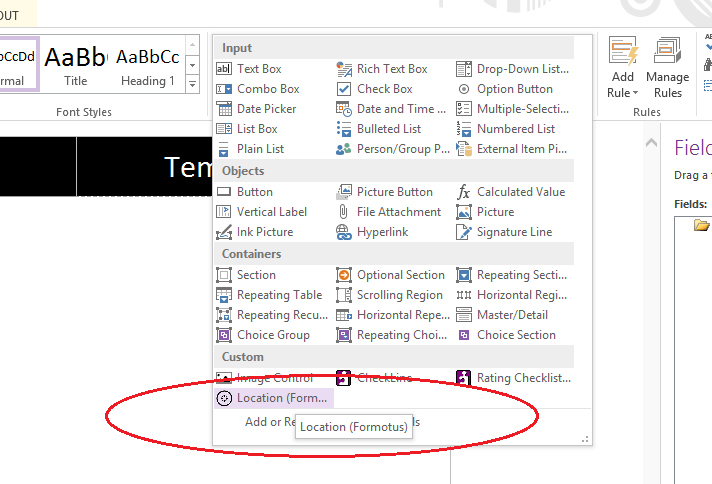
Step 2: Navigate to the Control Pane within the Home tab and click the More dropdown as shown below.
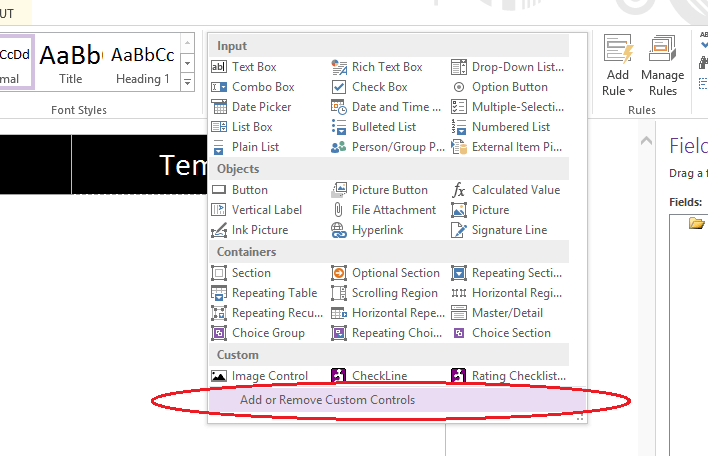
Step 3: Click the Add or Remove Custom Controls option at the bottom of the dropdown.
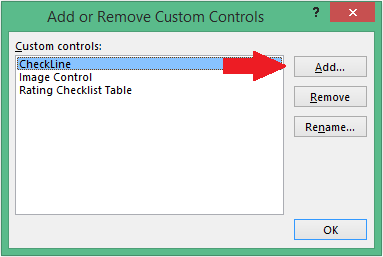
Step 4: Click Add from the option on the right of the dialog box.
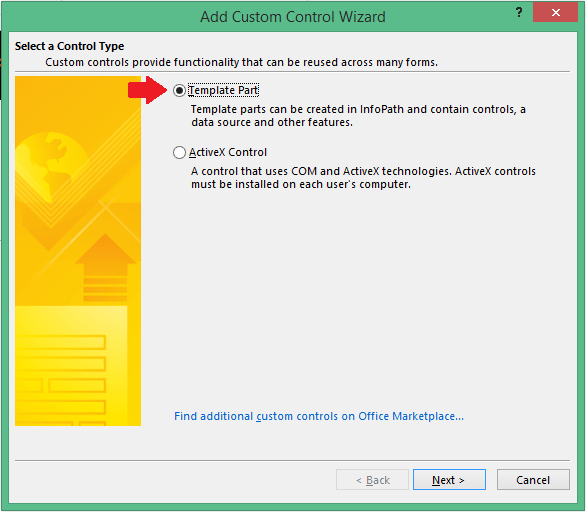
Step 5: Select Template Part and then click Next.
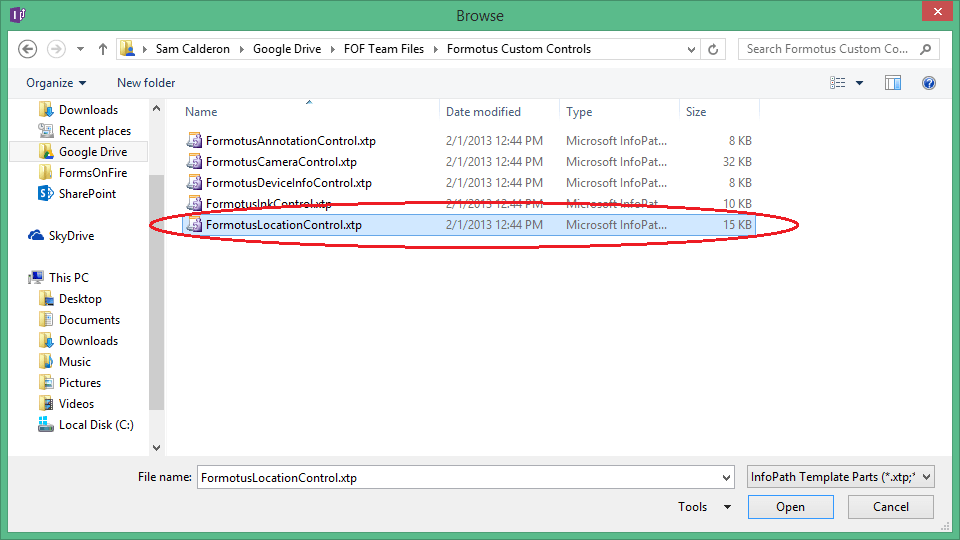
Step 6: Click Browse and navigate to the folder that contains the .xtp / .xtp2 files. Choose the file you want to install and click Open.
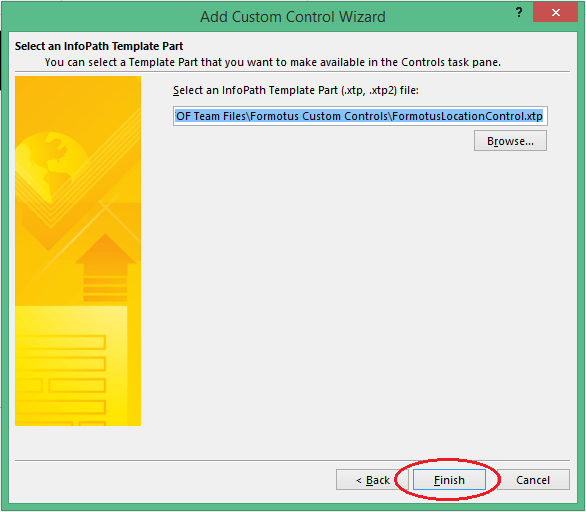
Step 7: Click Finish.
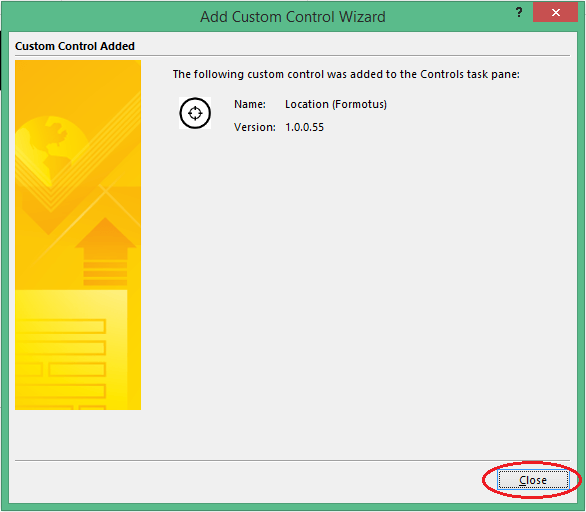
Step 8: Your new control is detailed here. Click Close.
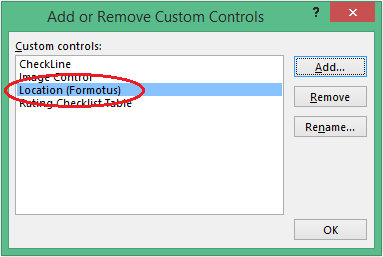
Step 9: Verify that your new control is on the list, then Click OK.
Step 10: Navigate back to the Control Pane within the Home tab and click the More dropdown. Your new control will toward the bottom.
Your new custom control is now ready to use!